
A listing can have the right price, a good address and a sensible floor plan, yet still draw weak enquiry. In many cases, the problem is visual. If you are asking how to improve listing photos, the answer usually starts before the camera comes out. Buyers and tenants do not react to square footage first. They react to how a space feels at a glance.
For property agents and homeowners, that matters because the online listing is often the first viewing. If the photos feel dark, cramped or unclear, people scroll past. If they feel calm, bright and easy to understand, you earn the next step – a click, an enquiry, a viewing.
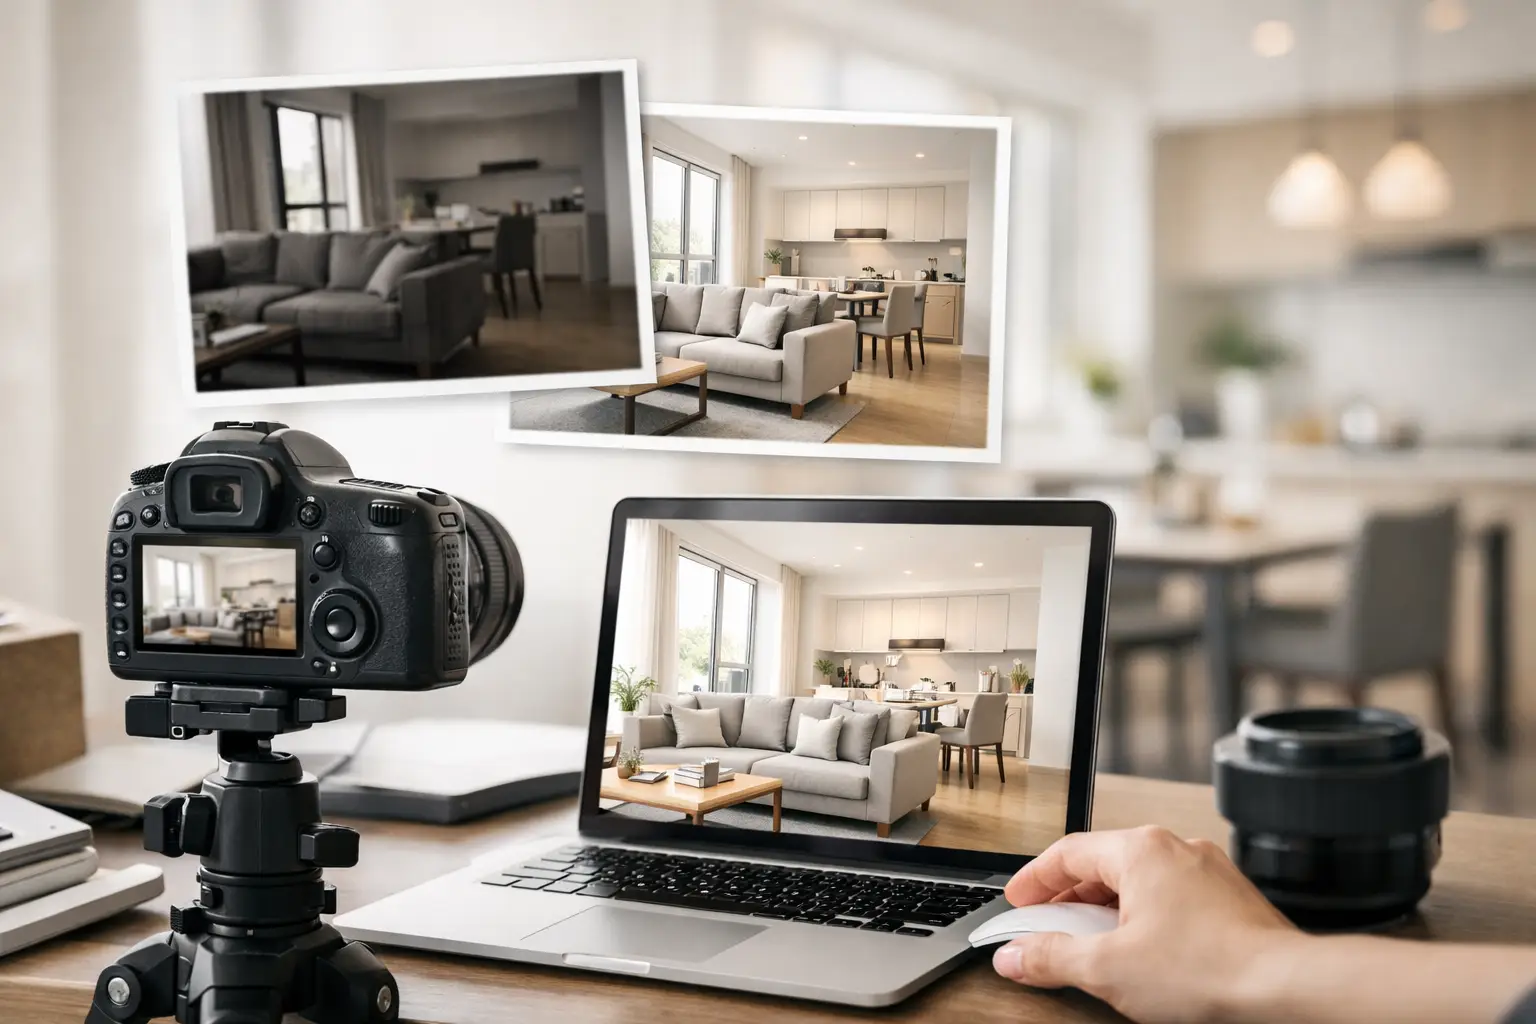
How to improve listing photos starts with the room
Good property photography is rarely about camera settings alone. It is about preparing the room so the camera has something clear and appealing to capture. A bare unit can look smaller than it is. An overfilled one can feel untidy and distracting. The best result usually sits in the middle – enough furniture and styling to explain the function of the space, but not so much that the room feels busy.
This is where many listings lose momentum. Owners often think empty means clean, while agents may assume a quick tidy-up is enough. In reality, buyers struggle to read scale in an empty room, and minor clutter becomes far more obvious in a photo than it does in person. A sofa, dining set or bed in the right proportions helps the viewer understand layout immediately. It also makes the property feel liveable rather than leftover.
That is one reason staged homes often photograph more convincingly than vacant ones. The room gains structure, visual balance and a sense of use. For online listings, that can make the difference between a space that feels uncertain and one that feels ready.
Focus on light before editing
Natural light does more work than most editing software. If the room is photographed when light is flat or harsh, every correction afterwards becomes a compromise. Plan photography for the time of day when each area looks most even and open. In many homes, living areas are best shot in soft morning or late afternoon light, while some bedrooms benefit from a brighter mid-morning window.
Open curtains fully, but pay attention to what the light is doing. Direct sun can create blown-out windows and heavy shadows across the floor. If that happens, adjust timing rather than relying on editing to repair it. Turn on selected lamps if they add warmth, but avoid mixing too many different bulb tones. A room with cool ceiling lights and warm side lamps can look inconsistent on camera.
Clean windows also matter more than people expect. Marks, haze and dust reduce the clarity of incoming light and make the whole image feel dull. It sounds small, but small details are often what separate an average listing photo from one that feels professionally handled.
Composition should help people understand the space
A strong listing photo is not simply attractive. It is informative. The viewer should understand the room quickly – where they would sit, walk, eat or sleep. Wide shots are useful, but they should not distort the proportions of the room so badly that viewers feel misled when they arrive.
Try to photograph from a height that feels natural, usually around chest level, and keep vertical lines straight. Tilted walls and falling door frames make a property look carelessly presented. Show enough of the room to explain the layout, but do not go so wide that furniture stretches oddly at the edges.
It also helps to think in terms of sequence. The first few photos should answer the biggest questions a buyer or tenant has. What does the main living area look like? Is the bedroom generous enough? Does the kitchen feel usable and clean? Save detail shots for later in the listing. Cushions, artwork and a neatly styled console table can add polish, but they should support the main story, not replace it.
The room needs a clear purpose
Multi-use spaces are common, especially in city properties. But in photos, ambiguity can hurt performance. If a spare room currently holds storage boxes, a desk and an exercise bike, the image tells the viewer the room does not really work. Give the room one clear identity before photographing it. A tidy home office, a guest bedroom or a reading room will always read better than a space trying to be three things at once.
This does not mean over-styling. It means reducing friction. The easier the viewer can understand a room, the easier it is for them to imagine living there.
Decluttering is not enough without editing the visual noise
Most people know they should remove obvious clutter. Fewer people notice the quieter distractions that make photos feel unsettled. Cables, tissue boxes, pet items, fridge magnets, cleaning bottles and mismatched hangers all create visual noise. None of them are dramatic on their own, but together they make the room feel less composed.
The goal is not to strip away all personality. It is to remove anything that competes with the space itself. In living rooms, that may mean reducing small décor pieces and leaving only a few balanced accents. In kitchens, it often means clearing worktops almost entirely. In bathrooms, it means fresh towels, closed lids and no half-used toiletries on display.
There is a trade-off here. A room that is too empty can feel cold. A room with a few well-placed elements feels considered. That is why practical styling tends to outperform either extreme. You want enough detail to create warmth, but enough restraint to keep the property itself as the focus.
Why staging improves listing photos
If you want a straightforward answer to how to improve listing photos, staging is one of the most reliable ways to do it. Not because it makes a property look extravagant, but because it solves common photographic problems at once. It adds scale, creates focal points, softens empty corners and helps each room read with purpose.
For agents, that can mean a listing that feels more complete online without asking the owner to buy furniture or manage a long preparation period. For landlords with vacant units, it is often the fastest way to move from an echoing, hard-to-read space to one that feels market-ready. For homeowners still living in the property, partial styling can help simplify what is already there and bring consistency across the photos.
In Singapore, where many prospective buyers and tenants make fast decisions from property portals before committing to a viewing, presentation has a direct effect on response. A staged living room with balanced furniture and clean sightlines often outperforms an empty one, even when both are photographed by the same person. The room simply makes more sense on screen.
At Expats Partner, this is approached as a performance decision rather than a decorative exercise. The aim is to make the listing clearer, more appealing and easier for the market to respond to.
Editing should correct, not disguise
After the shoot, editing should refine what is already working. Adjust brightness, contrast and white balance so the room looks true to life and consistent from one image to the next. Correct perspective if needed. Remove small temporary blemishes if they distract from the room.
What editing should not do is create false expectations. Over-saturated skies, unnatural brightness and aggressively widened rooms may earn a click, but they often weaken trust at the viewing stage. Good listing photography sets up a smooth handover from online interest to in-person impression. If the property feels very different in reality, that gap becomes a problem.
Small changes that often make the biggest difference
A few practical adjustments repeatedly improve results. Pull furniture slightly away from walls if the layout allows, because this gives the room breathing space in photos. Use matching bedside lamps or cushions where symmetry suits the room. Straighten bedding, align dining chairs and hide bins. Replace any burnt-out bulbs before the photographer arrives.
Pay attention to the front-facing images too. The entrance, balcony view or exterior shot often shapes the viewer’s first impression after the main room images. If these areas look neglected, the quality of the interior photos has less impact.
Most importantly, judge the images as a set rather than one by one. A strong listing gallery should feel consistent in tone, brightness and quality. It should guide the viewer through the property in a way that feels logical and reassuring.
Better listing photos rarely come from one dramatic fix. They come from a series of sensible decisions – preparing the room properly, using light well, defining the purpose of each space and presenting the home in a way that helps people picture a life there. When that is done well, the photos do more than document a property. They help move it forward.
Contact us now at: Kevin Chang – 80119753 sales@expatspartner.com.sg Sales Specialist