
Most property owners assume that hiring a professional photographer is the critical step in creating a compelling rental listing. It is not. The role of staging in rental photography is what actually determines whether potential tenants stop scrolling or click past your listing entirely. Staging shapes the story a photograph tells, transforms an ordinary room into an aspirational space, and directly influences how quickly your property lets and at what price. This guide covers why staging matters, how to do it well, and which approach suits your situation.
Table of Contents
- Key takeaways
- Why staging matters in rental photography
- Staging tips for rental photos
- Physical, virtual, and DIY staging compared
- How staging and photography work together
- Implementing staging efficiently
- My perspective on staging and rental photography
- Staging your rental with Expats Partner
- FAQ
Key takeaways
| Point | Details |
|---|---|
| Staging drives booking performance | Staged and photographed properties receive 20–40% more bookings and command significantly higher rental rates. |
| First photos decide everything | The first five listing photos determine 90% of tenant decisions, making staged cover images critical. |
| Staging options vary by budget | Physical, virtual, and DIY staging each suit different budgets and property types, with clear trade-offs. |
| Photographer and stager must collaborate | Strong staging paired with poor photography still underperforms. Both disciplines must work in tandem. |
| Preparation timing matters | Professional staging preparation takes 4 to 6 hours and should ideally be completed the day before the shoot. |
Why staging matters in rental photography
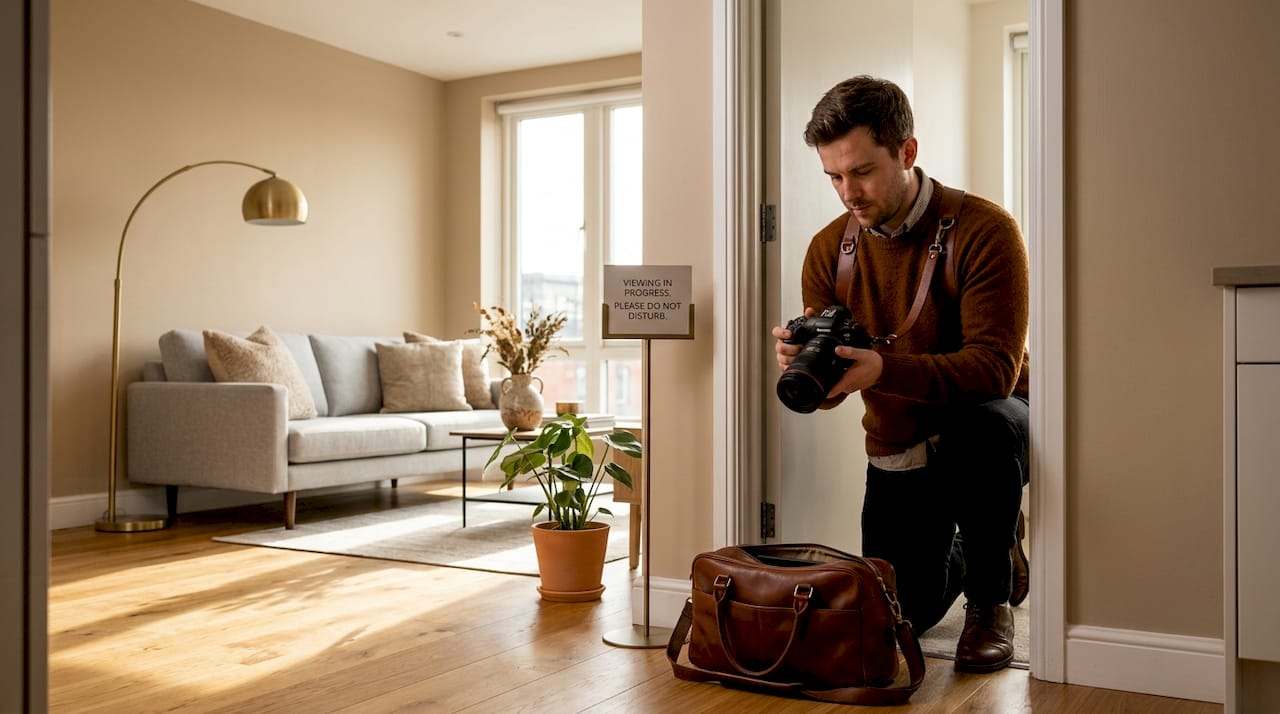
There is a common belief that a skilled photographer can make any property look good. To some extent, that is true. But photography captures what is already there. If a room is cluttered, sparsely furnished, or lacks a clear sense of how the space could feel to live in, no lens corrects that.
The role of staging in rental photography is to give the photographer something worth capturing. Staging constructs a visual story that speaks directly to the lifestyle your target tenant is seeking. Staging sells an “experience” tailored to the rental market rather than simply showing an empty or lived-in space. That distinction is commercially significant.
The numbers make a clear case. Professional photography and staging together generate 20 to 40% more bookings and command 26% higher nightly rates, with the investment typically recouped within two to four weeks. On an annualised basis, that translates to an average revenue increase of approximately $2,455 per property. For a landlord considering whether staging is worth the effort, those figures are difficult to dismiss.
Cover image selection deserves particular attention. The main listing photo acts as a magnet, determining whether prospective tenants click through or scroll past. Research shows that featuring the living room as the cover photo increases booking rates by 35%, generating an estimated $728 of additional revenue per booking period. The first five photos determine 90% of guest booking decisions, which means staging the right rooms first is not optional. It is the strategy.
- A staged living room signals how the whole property feels
- Lifestyle vignettes in key rooms create emotional connection before a viewing
- Consistent styling across rooms builds credibility in the listing
Staging tips for rental photos
Preparing a property for photography differs meaningfully from preparing it for a viewing or for someone to live in. Staging for listing photos calls for creating lifestyle vignettes rather than fully set rooms, prioritising an aspirational and uncluttered appearance over practical completeness.
Preparing the property
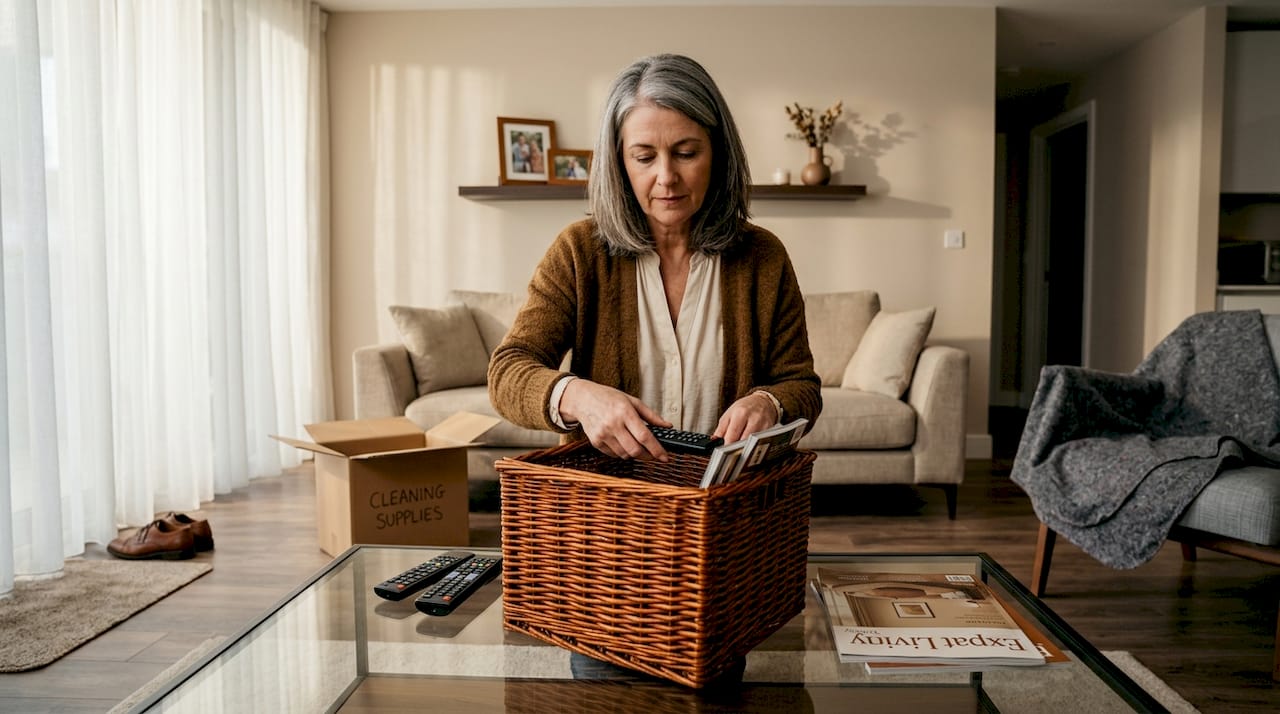
Start with a thorough declutter. Professional preparation involves removing 60 to 70% of visible items, replacing burnt-out bulbs, matching lighting temperatures throughout, and completing a final walk-through before the photographer arrives. Personal items should be entirely absent. Family photographs, idiosyncratic décor, and anything that anchors the space to a specific person’s life should be packed away. The goal is a clean canvas that feels warm but not personal.
Room-by-room approach
Each room has a distinct priority:
- Living room: This is your hero space. Use a neutral sofa, add a few styled cushions, and place a coffee table book or small plant. Avoid over-accessorising. The room should feel calm and easy to imagine relaxing in.
- Kitchen: Clear all countertops except for one or two considered items, such as a fruit bowl or a single appliance. Open shelving should be tidied. The space should read as functional and fresh.
- Bedroom: Crisp, white or neutral bedding photographs well. Layer with a throw and two symmetrically placed cushions. Remove all personal items from bedside tables. One small lamp on each side creates warmth.
- Bathroom: Every surface should be clear. Fresh white towels folded neatly, one small plant or candle, and spotless fixtures are sufficient.
Lighting and technical considerations
All bulbs should share the same colour temperature, ideally between 2700K and 3000K, to avoid mismatched tones and shadows in photographs. Mixed lighting creates colour casts that are difficult to correct in post-production and make rooms look smaller or colder than they are.
Pro Tip: Photographers often use wide-angle lenses in the 9 to 24mm range to maximise the sense of space. Stage each room with this in mind: avoid crowding furniture near the camera’s likely position, and keep pathways clear so the room reads as open rather than cramped.
Physical, virtual, and DIY staging compared
Not every property owner has the budget for full physical staging, and not every property needs it. Understanding the options helps you allocate resources where they will have the most impact.
| Method | Cost | Turnaround | Best suited for | Limitations |
|---|---|---|---|---|
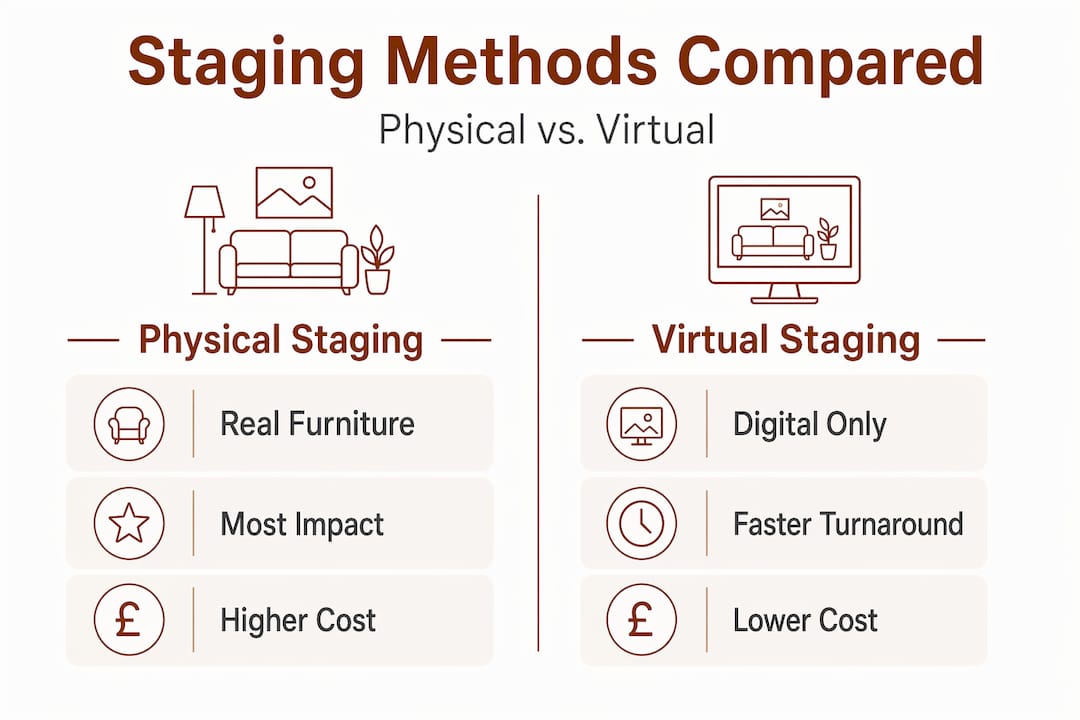
| Physical staging | Moderate to high | 1 to 3 days | Vacant properties, premium listings | Logistics, furniture transport, time |
| Virtual staging | Very low | 24 to 48 hours | Vacant properties, quick turnaround | May mislead if not disclosed |
| DIY styling | Near zero | Varies | Furnished properties with decent existing items | Inconsistent results without experience |
Physical staging using quality, curated furniture creates the most authentic and impactful results. Tenants viewing a physically staged property in person will find it matches the photography, which builds trust and reduces the risk of disappointment at viewing stage. The importance of staging homes at this level is well supported by evidence: staged homes let up to 73% faster and receive higher offers.
Virtual staging is a genuinely useful tool when a property is vacant and a physical staging budget is not available. Virtual staging costs as little as $0.30 to $5 per image compared to thousands of dollars for furniture rental and logistics. It allows quick testing of design concepts and produces polished listing images with minimal preparation time. The trade-off is that the physical space will look empty at viewings, which requires careful expectation management with prospective tenants.
DIY styling works best for furnished properties where the existing pieces are already of reasonable quality. The most common pitfalls are over-staging (too many decorative items), under-staging (leaving rooms feeling cold and bare), and overlooking lighting.
Pro Tip: If you are working with a limited budget, invest physical staging effort in the two rooms that matter most: the living room and the master bedroom. These are the spaces that most strongly influence tenant decisions, and a focused effort here will outperform half-hearted staging across the whole property.
How staging and photography work together
The benefits of staging in photography are only fully realised when the photographer understands what has been created and knows how to capture it. A well-staged room alone does not guarantee strong photos. The photographer’s skill in composition, lighting, and perspective is equally critical.
This means the relationship between property owner, stager, and photographer should be a collaborative one rather than three separate tasks handed off in sequence. The stager should understand how the photographer plans to shoot each room. The photographer should understand the lifestyle story the staging is trying to tell. When these two disciplines work in alignment, the results are markedly better than when they operate independently.
Consider what happens when staging and photography are genuinely coordinated:
- The photographer positions the camera to emphasise the room’s strongest features, which the stager has already highlighted
- Lighting decisions are made jointly, so warm ambient light complements rather than competes with the staging colour palette
- The cover image is selected deliberately from staged options, not simply chosen from whatever looks acceptable
The commercial outcomes of this collaboration are measurable. 83% of buyers’ agents report that staging makes it easier for clients to visualise a property, and 40% of buyers are more willing to visit a staged home first discovered online. While this research focuses on sales, the same perceptual dynamics apply directly to rental listings. High-value tenants searching online make quick, visually driven decisions.
Implementing staging efficiently
Good staging does not require unlimited time or budget. What it requires is a clear plan and the right sequence of preparation steps.
- Book your photographer first. Confirm the shoot date and then work backwards. Knowing the exact date creates a firm deadline that keeps preparation on track.
- Schedule a deep clean at least two days before the shoot. This allows time to address anything missed and avoids the rushed feeling of cleaning and staging on the same day.
- Complete staging the day before the shoot. Preparation of this kind takes four to six hours for most properties. Completing it the day before allows a calm final review on the morning of the shoot without any last-minute scramble.
- Use a pre-shoot checklist. Walk through each room and confirm: all personal items removed, bulbs replaced, surfaces cleared, fresh towels in bathrooms, beds made, plants watered, all lights switched on.
- Assess staging service providers carefully. Ask to see portfolio images from similar property types. A provider experienced in short-term versus long-term staging will understand which staging approach suits your rental type and target tenant profile.
If time or resources are genuinely limited, focus on the living room, master bedroom, and main bathroom. These three spaces, staged well and photographed professionally, will produce listing images that perform significantly better than an unstaged property shot across all rooms.
Pro Tip: On the morning of the shoot, open all blinds and curtains at least one hour before the photographer arrives. Natural light takes time to fully fill a room, and allowing it to settle before shooting prevents underexposed corners and creates a more evenly lit atmosphere throughout.
My perspective on staging and rental photography
I have worked with enough property owners to recognise a pattern. The ones who invest in staging before photography almost always outperform those who do not, but the owners who get the most from it are those who treat staging and photography as a single, connected process rather than two separate tasks.
The most common mistake I see is treating staging as a cosmetic afterthought. A property owner spends weeks preparing the tenancy agreement, researching the market, and selecting a photographer, and then spends two hours moving a few cushions around the morning of the shoot. The photography captures a space that is technically tidy but has no real story to tell.
The second mistake is underestimating how staging affects the long-term performance of a listing. Strong rental photography, built on solid staging, continues to generate enquiries months and years after the shoot. The upfront cost is a one-time investment. The return compounds over the life of the listing.
What I have also come to appreciate is the often-overlooked relationship between the property owner, the stager, and the photographer. When all three are aligned on the target tenant and the lifestyle the property should communicate, the results are genuinely striking. The photography does not just document a property. It sells a life that a high-value tenant can picture themselves living.
— EP
Staging your rental with Expats Partner
If this article has clarified how much staging contributes to rental photography performance, the next step is working with professionals who understand both disciplines. At Expats Partner, we specialise in premium home staging services tailored for property owners and real estate professionals in Singapore. Our curated designer furniture and expert styling are designed specifically to produce listing-ready spaces that attract high-value tenants. Whether you need full physical staging, furniture rental, or guidance on where to begin, explore our home staging tips or get in touch directly to discuss a solution suited to your property and timeline.
FAQ
Does staging actually improve rental performance?
Yes. Staged and professionally photographed properties receive 20 to 40% more bookings and can command 26% higher nightly rates, with the investment typically recovered within two to four weeks.
What is the most important room to stage for rental photos?
The living room is the highest-impact space. Using the living room as the cover photo increases booking rates by 35%, and the first five listing photos drive 90% of tenant decisions.
How does virtual staging compare to physical staging?
Virtual staging costs as little as $0.30 to $5 per image compared to thousands for physical furniture rental, making it a practical option for vacant properties. However, it must be disclosed to prospective tenants, as the physical space will appear unfurnished at viewings.
How long does staging preparation take?
Most properties require four to six hours of thorough preparation, including decluttering, cleaning, and styling. Completing this the day before the photography shoot allows time for a calm review rather than a rushed setup on the day.
Can I stage a furnished rental property myself?
Yes, particularly if the existing furniture is of good quality. Focus on removing 60 to 70% of visible items, clearing all surfaces, using matching lighting temperatures, and creating simple lifestyle vignettes in key rooms rather than fully dressed set-ups.